The Shop
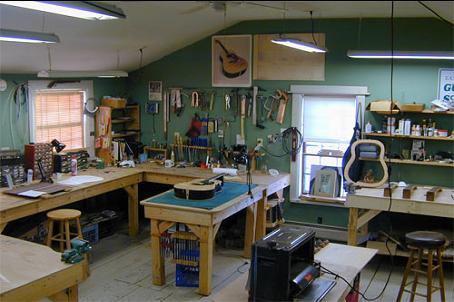
The shop is in a building that used to be in our backyard. Along about 1870 the building, which we think was a barn, was attached to the main house, which itself was built in 1820. This was an outstanding decision because now we don't have to go outside in the winter. When we moved here in the mid 90's, the shop building needed "shoring up" which turned out to be a pretty substantial re-build. But within a year, the work was done and the shop opened.
Scroll down for more pictures
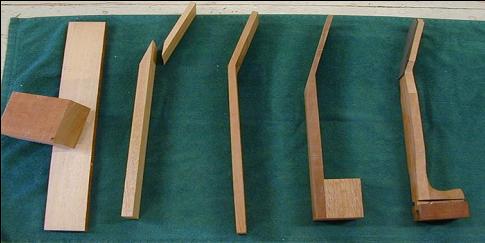

Like most guitar builders, I start with the neck and heel. This picture shows the different stages of neck construction from left to right, starting with the 24 inch neck billet and mahogany block that serves as both the heel and the neck block. Next, the scarf joint to make the angled headstock is cut and then glued to the neck. The mahogany block is then cut and glued to the underside of the neck to make what will become the heel. Then the tenon is cut, the heel is shaped, and the plate is glued to the headstock.

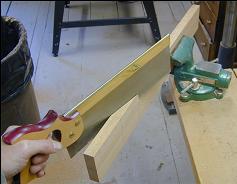
Cutting the scarf joint - a tricky operation that takes practice and patience. I'm using a Paragon backsaw.
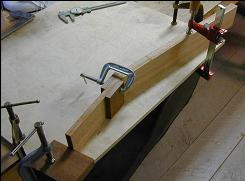
Gluing the headstock to the neck. This picture shows the joint dry - clamped. When it's time to glue, I'll use many more clamps.
The final product. This neck is complete and ready to join to the body. The only thing that remains is fret installation, which gets done after the neck is attached to the body.


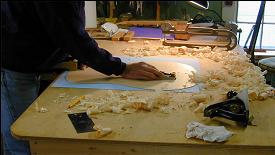
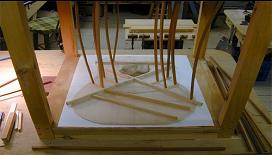
In the upper left picture, the sound board is being planed to the proper thickness. I have not cut the soundhole yet, but if the top was turned over you'd see that the rosette is in. I use a Lie-Nielsen low angle block plane for this operation. Made right here in Maine, these Lie-Nielsen planes are the best I've ever used. Once the soundboard is the right thickness, the braces are glued using a "go box," a tried and true method of clamping things that would otherwise be un-clampable

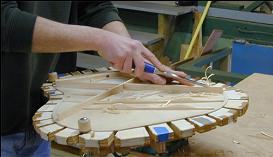
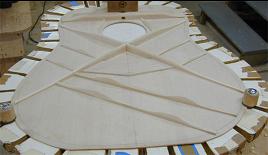
Using chisels, rasps, files and scrapers, the braces are shaped. I use the traditional
X-brace on my acoustic guitars, but the placemaent of the braces differs slightly from guitar to guitar depending on the weight and stiffness of the soundboard.
X-brace on my acoustic guitars, but the placemaent of the braces differs slightly from guitar to guitar depending on the weight and stiffness of the soundboard.

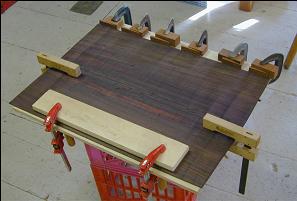
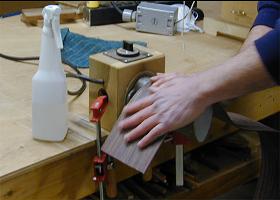
The upper left picture shows the two rosewood back plates being glued. I use wooden wedges to squeeze the joint together. This distributes the clamping pressure evenly along the joint. In the right hand picture I am bending a rosewood side over an electrically heated pipe. Of all the guitar building tasks, I find that side bending requires the most patience.

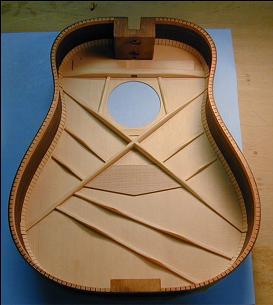
An open guitar right before the back is glued on. One of my favorite views.

